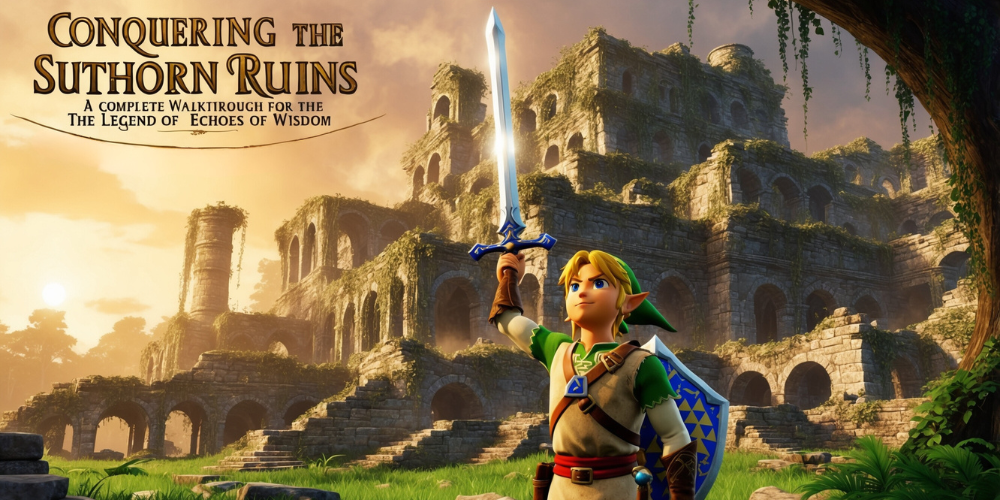
Conquering the Suthorn Ruins: A Complete Walkthrough for The Legend of Zelda: Echoes of Wisdom
Oct-01-2024

Set out on a remarkable quest across the enchanting realm of The Legend of Zelda's Echoes of Wisdom DLC. This guide is designed to help you conquer the Suthorn Ruins Dungeon, your first challenge in this captivating game. Inside these ancient ruins, treasures await, and puzzles will test your wits. If you're set to unveil the mysteries of this dungeon, read on for a step-by-step walkthrough packed with insights and tips that will elevate your gameplay experience.
Suthorn Ruins: Your First Dungeon Awaits
The Suthorn Ruins serve as the introductory dungeon in Echoes of Wisdom. This area is crafted as a training module to help players transition smoothly into the mechanics of dungeon exploration. While it is designed to be approachable, our comprehensive guide will simplify your journey even further, ensuring that you don't miss any critical items or encounters along the way.
Begin Your Journey: Activate the Waypoint
Upon entering the Suthorn Ruins, your first task is to activate the Waypoint. This will allow you to quickly navigate back to this spot should you need to return. Once secured, make your way through the northern door, where you'll encounter a massive boulder ready to be moved.
Learning the Power of Bind
Tri will introduce you to the Bind mechanic, an essential skill you'll utilize throughout your adventure. Use Bind to manipulate the boulder and drop it into the pit below. This action will allow you to access a switch that unlocks the door on your right, leading you further into the temple.
Water Challenges: The Next Puzzle
In the subsequent room, you'll again put your Bind skills to use. Move the rock to fill the gap in the water between two platforms, creating a bridge for your next steps. After navigating up the slope, you’ll arrive at a sandy area where a treasure chest lies buried. Use Bind to exhum the chest, which rewards you with five Radiant Butter.
Delving Deeper: Find the Strandtula Echo
Your next objective is to descend the previously hidden ladder. Here, you can obtain the Strandtula Echo, a useful tool that allows you to create climbable webs. This will help you retrieve another chest located at the top of the room containing the Dungeon Map. Once secured, exit through the right ladder to proceed.
Crossing Gaps with Beds and Strands
In a familiar room, navigate to your left and head downward to face an enemy. Defeating this foe will bestow upon you the Ignazol Echo. With this new ability, ride the lift upward to confront a Darknut at the top of the stairs. vanquish this adversary to earn its Echo.
Illumination: Lighting the Way
Your next challenge involves igniting the torches scattered around the room. Employ the Ignazol Echo to light them while using Bind to reposition the boulders. After you light the final torch, the ladder on the right will be accessible, leading you onward in your quest.
Engaging With Statues: The Shield Mystery
Upon entering a new room, activate another Waypoint and observe the four wall statues. The one on the right bears a shield. Utilize Bind to extract it, subsequently entering the adjoining door to confront another Darknut. Once defeated, check the the left corner of the space allocated for a chest that holds 50 rupees.
A Miniboss Encounter: Facing a Familiar Foe
Prepare yourself for your first miniboss battle against a figure from your past. The fight requires a strategic use of Bind to remove the shield from your opponent, allowing your Echoes to deal damage. Maintain your offense even as he grows faster, as keeping up the pressure will ultimately lead to your victory.
Advancing with New Strength: The Swordfighter Form
After your miniboss victory, you will obtain the Sword. Momently, it unlocks the Swordfighter Form. Transform immediately and employ your sword to obliterate the black substance blocking your path. Climb down the ladder into the next area of the dungeon.
Puzzle Challenges: Moving Rocks in New Ways
Upon your descent into the next section, activate Bind to manipulate a rock into place in the floor's recess. This will allow you to use the left ladder to traverse back up and create a path across the gap above, ultimately leading you to a treasure chest containing the Heart Pin accessory.
Victory Through the Left Door
From this new room, head down the right corridor into the next space. Engage the Deku Baba Echo lurking here, using your Swordfighter Form to dispose of the goo blocking your path. With the threats eliminated, you can proceed and open the northern and western doors. Start with the western door—here, drag a statue onto a switch to retrieve an additional 50 rupees.
Unraveling More Secrets: The Silver Key
Revisit the earlier room and continue northward through the door. Use Bind on the Deku Baba behind the grate, destroy it, and claim the chest for a Silver Key. Your exploration of the main hall with the Waypoint does not end here; head through the door on the right using this newly acquired key.
The Mechanized Platform: A New Form of Movement
Once inside, a new mechanic awaits. You'll learn the Reverse Bind technique. Make your way onto the moving platform overhead and ride it, adjusting your grip as you navigate across the room. The chest at the top of the area contains 20 rupees, further rewarding your effort.
Final Bind Puzzle: Ascend and Claim the Big Key
Climb the upper ladder to engage in yet another Bind-based puzzle. Create a staircase using beds in front of the switch. The statue must be maneuvered left, taking you high enough to activate the switch. The chest opens to reveal the Big Key, crucial for your progress in the dungeon.
Prepare for the Final Challenge: The Boss Awaits
Return to the main hall, save your progress, and gain entry by unlocking the door using your recently obtained Big Key. Your journey is about to culminate in a boss battle. Be sure to consult our strategies on how to secure victory against the Suthorn Ruins' final guardian.
Completion: What Lies Beyond the Ruins
Upon vanquishing the dungeon boss, a Heart Container is yours, enhancing your health significantly. Tri will level up as well, and you'll receive Might Crystals, ushering you into the next segments of your journey. Exiting the dungeon, you’ll encounter Minister Lefte, who guides you toward Lueburry's House, unveiling further narrative layers concerning Link and the intriguing Sword of Might. This leads you into your new quest, "Searching for Everyone," pushing you to seek out the King, the Commander, and Link. A choice lies before you—venturing into Jabul Waters or heading to the Gerudo Desert to rescue those in need. The world is yours to uncover, laden with boundless surprises and adventures.
This guide has covered a significant portion of your journey through the Suthorn Ruins. Should you require additional assistance or tips, remember that there are more resources available in our Echoes of Wisdom walkthrough hub, designed to guide you through every twist and turn in this grand adventure.


